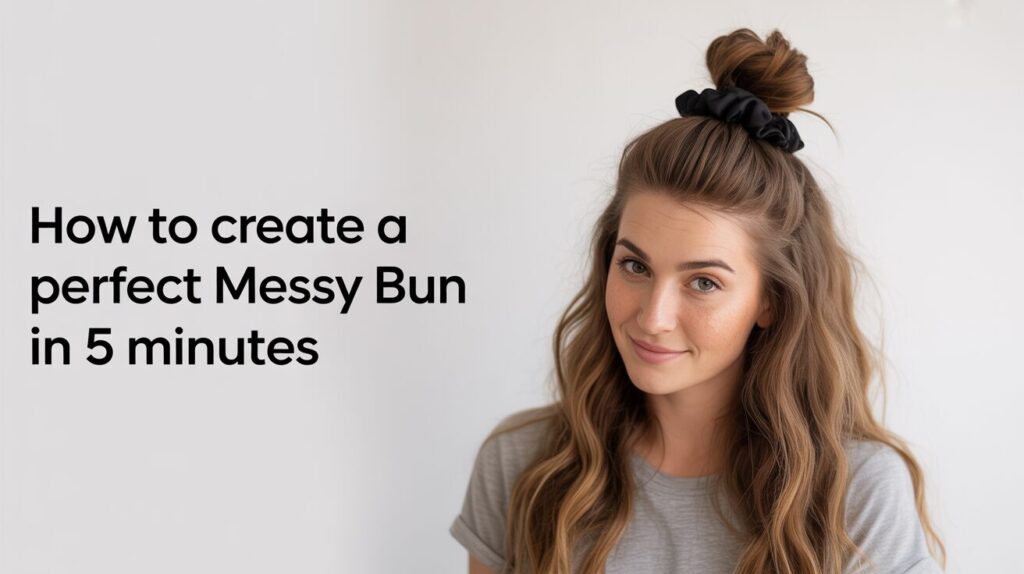
Messy buns are the ultimate hair hack—effortlessly chic, universally flattering, and genuinely quick to create. Whether you’re running late for work, headed to the gym, or simply want a laid-back look for brunch, knowing how to create a perfect messy bun in 5 minutes is a beauty essential. With years of professional hairstyling experience, I’ve seen firsthand how the right messy bun can elevate any outfit and give you a confident, polished finish—without the fuss. Ready to master the art of the messy bun? Let’s break down the easy, foolproof steps you can follow at home, even on your busiest mornings.
Why the Messy Bun Is So Popular
The messy bun isn’t just a passing trend—it’s a staple for women everywhere, thanks to its versatility and timeless appeal. This hairstyle works with straight, wavy, or curly hair, and looks equally amazing on second-day locks as it does on freshly washed strands. Plus, messy buns are among the top searched hairstyles on Google and Pinterest, making them a must-learn for anyone wanting quick, stylish, and Pinterest-worthy hair in minutes.
What You’ll Need for the Perfect Messy Bun
Before you start, make sure you have:
- A hair tie or elastic (preferably snag-free)
- A few bobby pins
- Light-hold hairspray or texturizing spray
- (Optional) A teasing comb and a soft brush
Having these essentials at hand will help you achieve a messy bun that stays secure, full of volume, and perfectly undone.
Step-by-Step: How to Create a Perfect Messy Bun in 5 Minutes
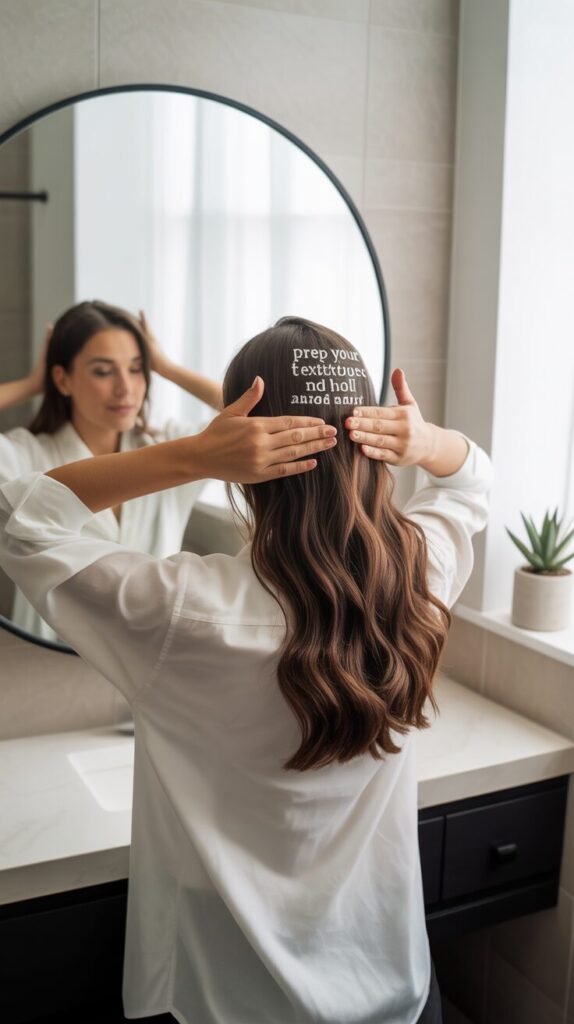
1. Prep Your Hair for Texture and Hold
If your hair is freshly washed, mist with a little texturizing spray or dry shampoo to give it some grip. This helps your messy bun hold its shape and look intentionally tousled. For second- or third-day hair, you’re already ahead—natural oils make messy buns easier to style and more long-lasting.
2. Gather Your Hair into a High or Low Ponytail
Decide where you want your messy bun to sit—high for a fun, youthful look or low for something more relaxed. Use your fingers to gather your hair into a ponytail (don’t worry about bumps—imperfection is key here). Secure loosely with a hair tie.

3. Create the Bun with a Twist and Pin
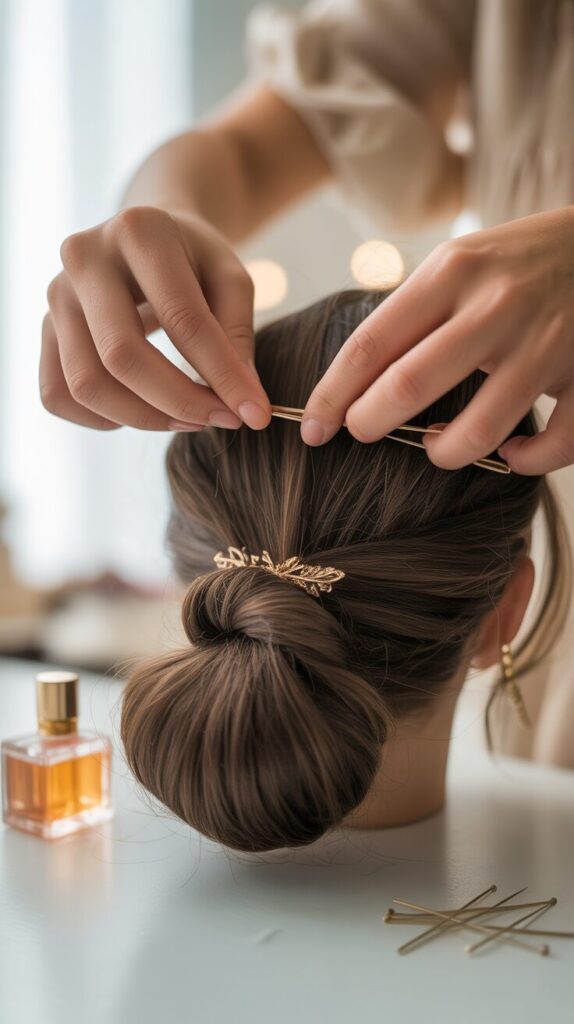
Twist your ponytail loosely and wrap it around the base, forming a bun. For extra volume, gently pull at the twist before securing. Tuck the ends under and secure with bobby pins, allowing some pieces to fall out naturally for that perfectly messy effect.
4. Pull Out Wispy Strands for Effortless Texture
With your bun secured, use your fingers to gently tug a few face-framing pieces free. This instantly softens your look and adds to the effortless, “undone” vibe. If needed, loosen sections of the bun slightly for a fuller appearance.
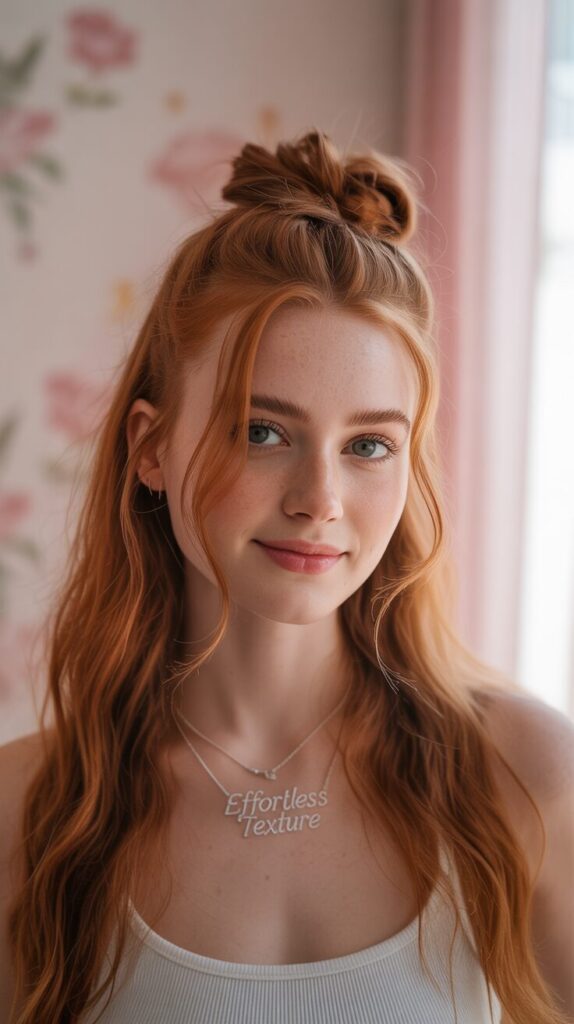
5. Lock In Your Style with Hairspray
Finish by misting your messy bun with a light-hold hairspray. This keeps flyaways under control while still letting your hair move naturally. For even more volume, fluff the bun gently with your fingers before heading out.
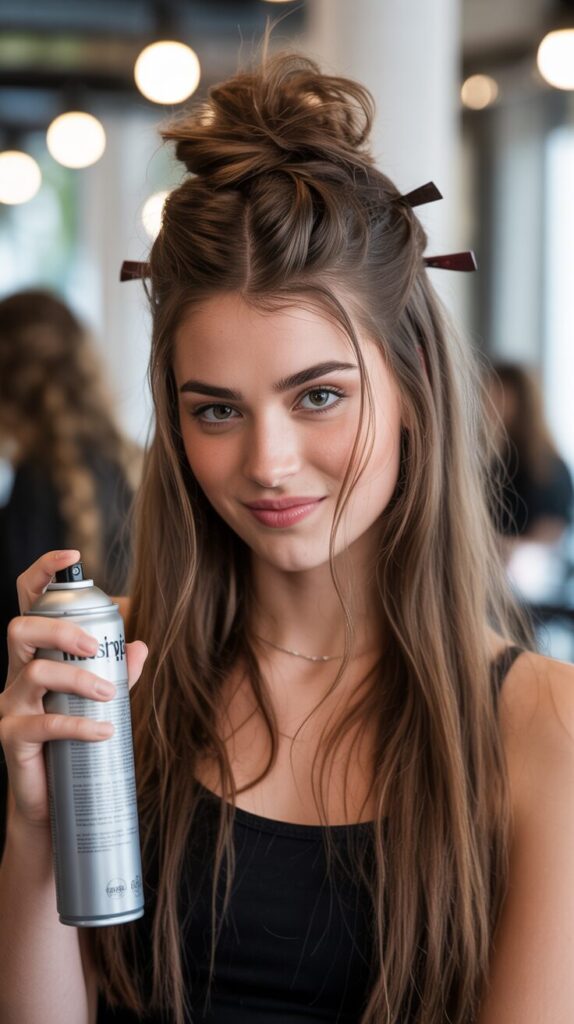
Pro Tips for the Best Messy Bun Every Time
- For Fine Hair: Backcomb the ponytail before twisting for added fullness.
- For Thick Hair: Use a stronger hair tie and extra pins to secure your bun all day.
- For Short Hair: Try two small buns or use mini bobby pins to hold shorter layers in place.
- Accessorize: Add a scrunchie, hair scarf, or jeweled pins for a trendy finish.
After years of helping clients and friends nail the messy bun, I know the biggest secret is confidence. Don’t aim for perfection—embrace those little imperfections for a style that feels effortless and authentic.
Conclusion: Your New Go-To Hairstyle Awaits
Now you know exactly how to create a perfect messy bun in 5 minutes, no matter your hair type or routine. This look saves time, works for any occasion, and always leaves you looking fresh and put together. Give it a try today and see how easy it is to master this timeless, high-search-volume hairstyle at home.
